From book : Okashi - sweet treats made with love
keiko ishida
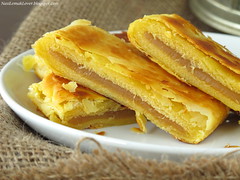
Souffle roll sponge
ingredients
Egg 1
egg yolks 3
vanilla extract 1 tsp
unsalted butter 35g
pastry flour 60g , shifted twice
fresh whole milk 60g
eggs white 3
castor superfine sugar 85g
fit
28cm x 28cm square cakepan
1. Preheat oven 180 deg C. Line cake pan
2. Combine egg, egg yolks, vanilla - beat lightly
3. Place butter in small saucepan, heat gently - until melt
add flour to butter and cook through
Transfer to bowl and add egg mixture a little at a time
Mix to smooth batter with spatula
Add milk and mix to incorporate
Strain batter and set aside
4. to make meringue - beat egg whites till foamy
Add half sugar and continue beating till few minutes
add remaining sugar untile egg whites are glossy and stiff peaks form
5. add one-third meringue into egg mixture and fold in lightly
then add remaining meringue and fold until just incorporated
6. Pour into cake pan and bake for 20mins
Tips: since souffle roll is slightly more thicker and more moisture- need to bake at medium heat
the gluten content of the flour makes the sponge hard. cooking with butter weakens the gluten content in the flour, resulting in a light, bouncy and fluffy cake
the meringue is essential for the souffle roll sponge to rise, so it must be stiff and stable


